Follow this step-by-step guide to configure your Barix InStreamer hardware encoder for live audio streaming with your Primcast SHOUTcast or Icecast server. Get your radio station live in minutes.
Follow each step carefully to configure your Barix InStreamer for live audio streaming with your Primcast server credentials.
Plug in and start the InStreamer while connecting a pair of headphones or speakers. Listen for the series of numbers it announces — this is the device's IP address (e.g. 192.168.10.10). Enter it in your browser's address field to access the web interface, then log in with the default username and password.
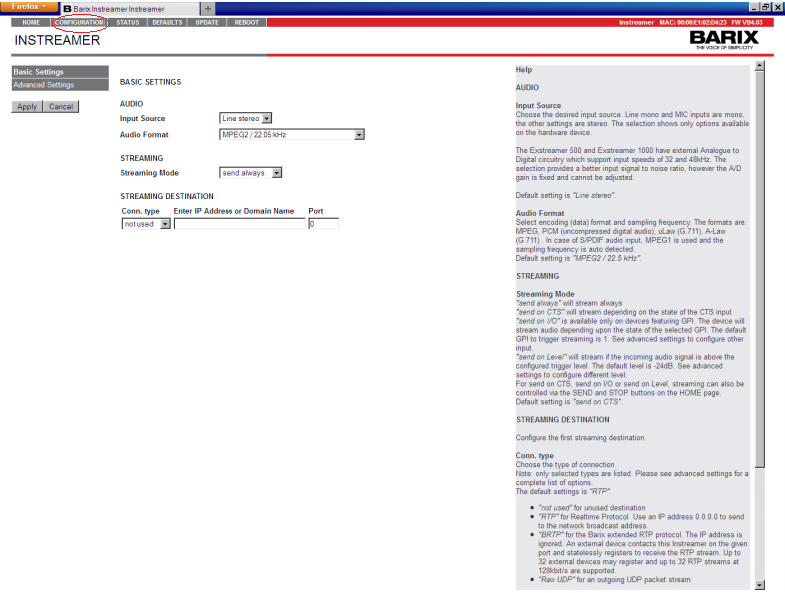
Click the Configuration button on the main encoder page. In the configuration page, select the Audio tab and set your preferred audio settings such as input source and audio format.
 Expand
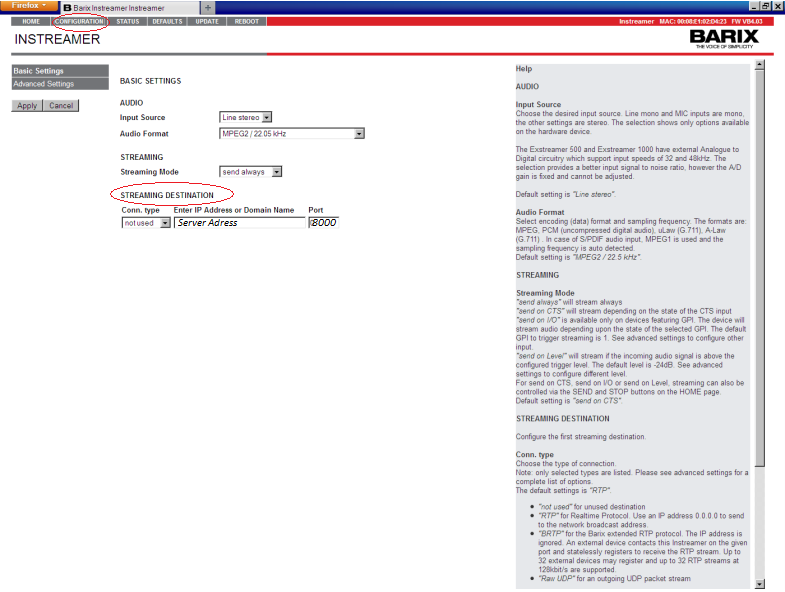
In the Streaming Destination section, enter your Primcast server address and port number. You can find this information in your Primcast activation email or by logging in to your Primcast account. When finished, click Apply.
 Expand
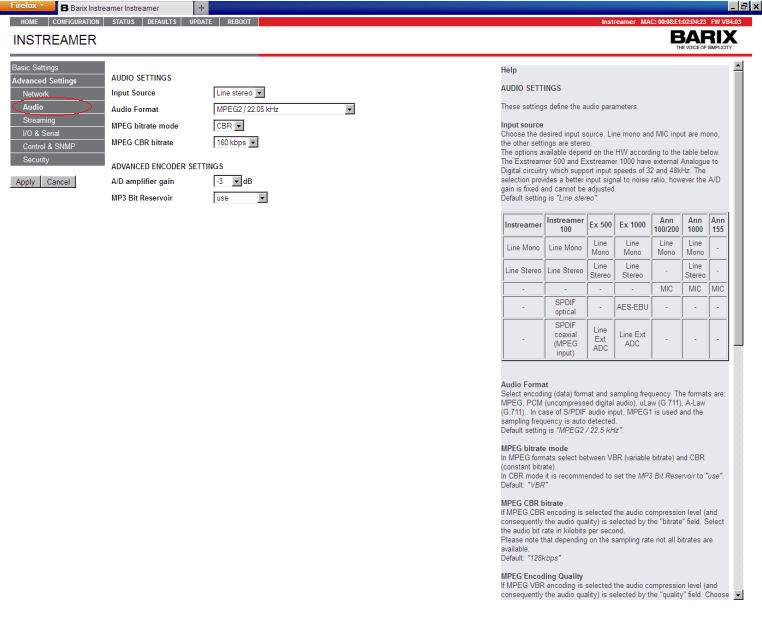
In the Audio tab, set your input source, audio format, and bitrate. Choose your bitrate based on your audience:
Bitrates above 128 kbps are not recommended as most CD quality audio is encoded at 128 kbps and higher bitrates only waste your allocated bandwidth.
 Expand
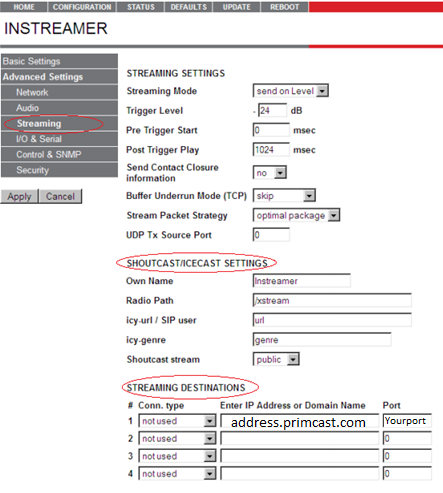
Click the Streaming button on the left side of the options panel. Here you can configure additional streaming settings such as your stream name and streaming destinations. Enter your desired values and click Apply.
 Expand
Click the Security tab and enter your stream password. The password can be found in your Primcast activation email or by logging in to your Primcast account. Click Apply and you are ready to start streaming.
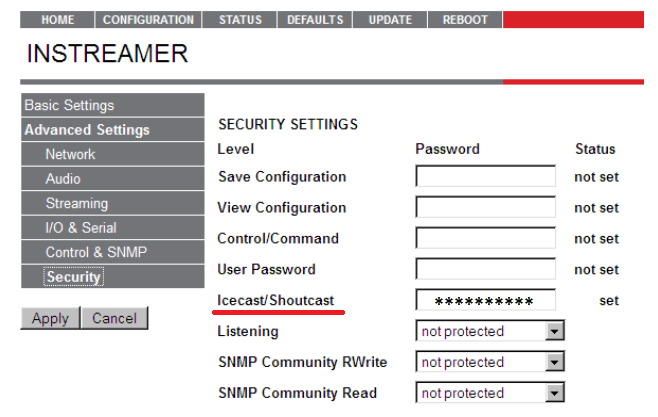 Expand
Common questions about setting up the Barix InStreamer for live audio streaming with Primcast.


