Follow this step-by-step guide to configure your Selenio Flex encoder for live RTMP streaming to your Primcast server. Get your broadcast live in just a few minutes.
Follow each step carefully to configure your Selenio Flex encoder and start live streaming to your Primcast video server.
Power on the Selenio Flex device. Once ready, open a web browser and enter the device's IP address to access the web interface. The default IP address is 10.10.10.10.
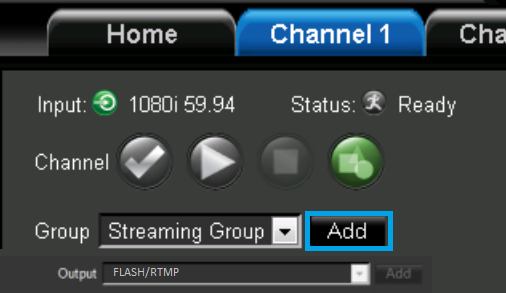
Click the Add button to create a streaming group and select your preferred streaming profile. Flash/RTMP is recommended for use with Primcast streaming services.
 Expand
Enter the server details from your Primcast control panel or setup email:
rtmp://address.srfms.com:port/live)livestream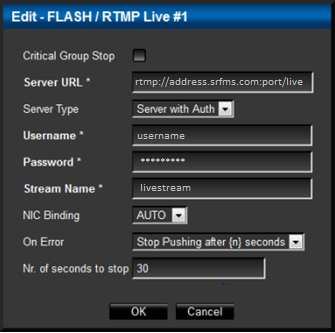 Expand
Click the Add button next to the Video field to select your video input device, then do the same for Audio. These settings control the bitrate and quality of your stream — adjust them based on your connection and desired output quality.
 Expand
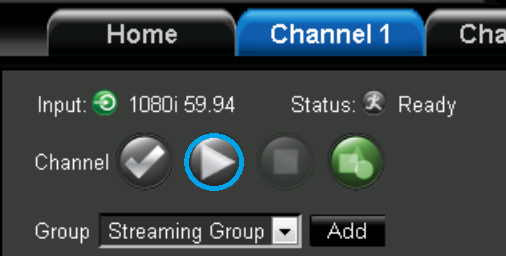
Once you have verified all your settings are correct, click the Play button to start your encoding session. Your Selenio Flex will begin streaming live to your Primcast server.
 Expand
Common questions about configuring the Selenio Flex encoder for live streaming with Primcast.